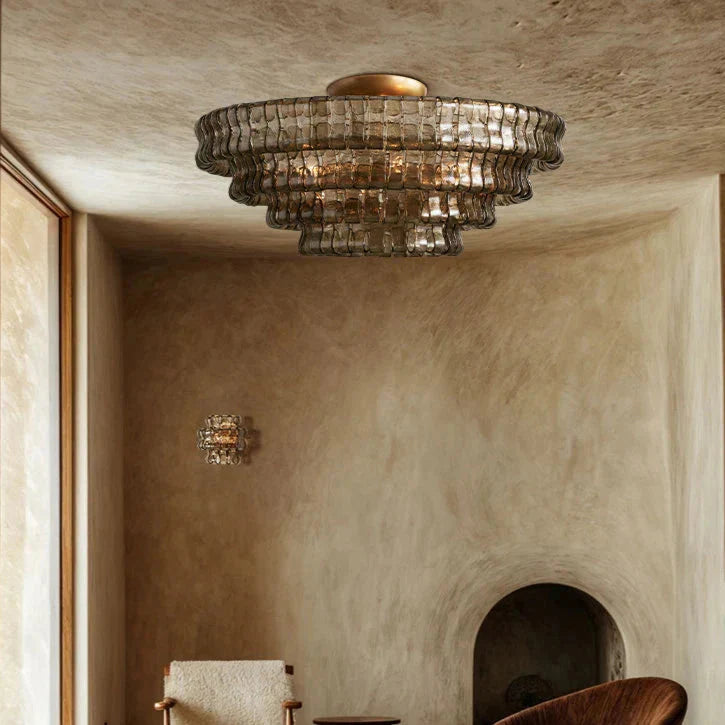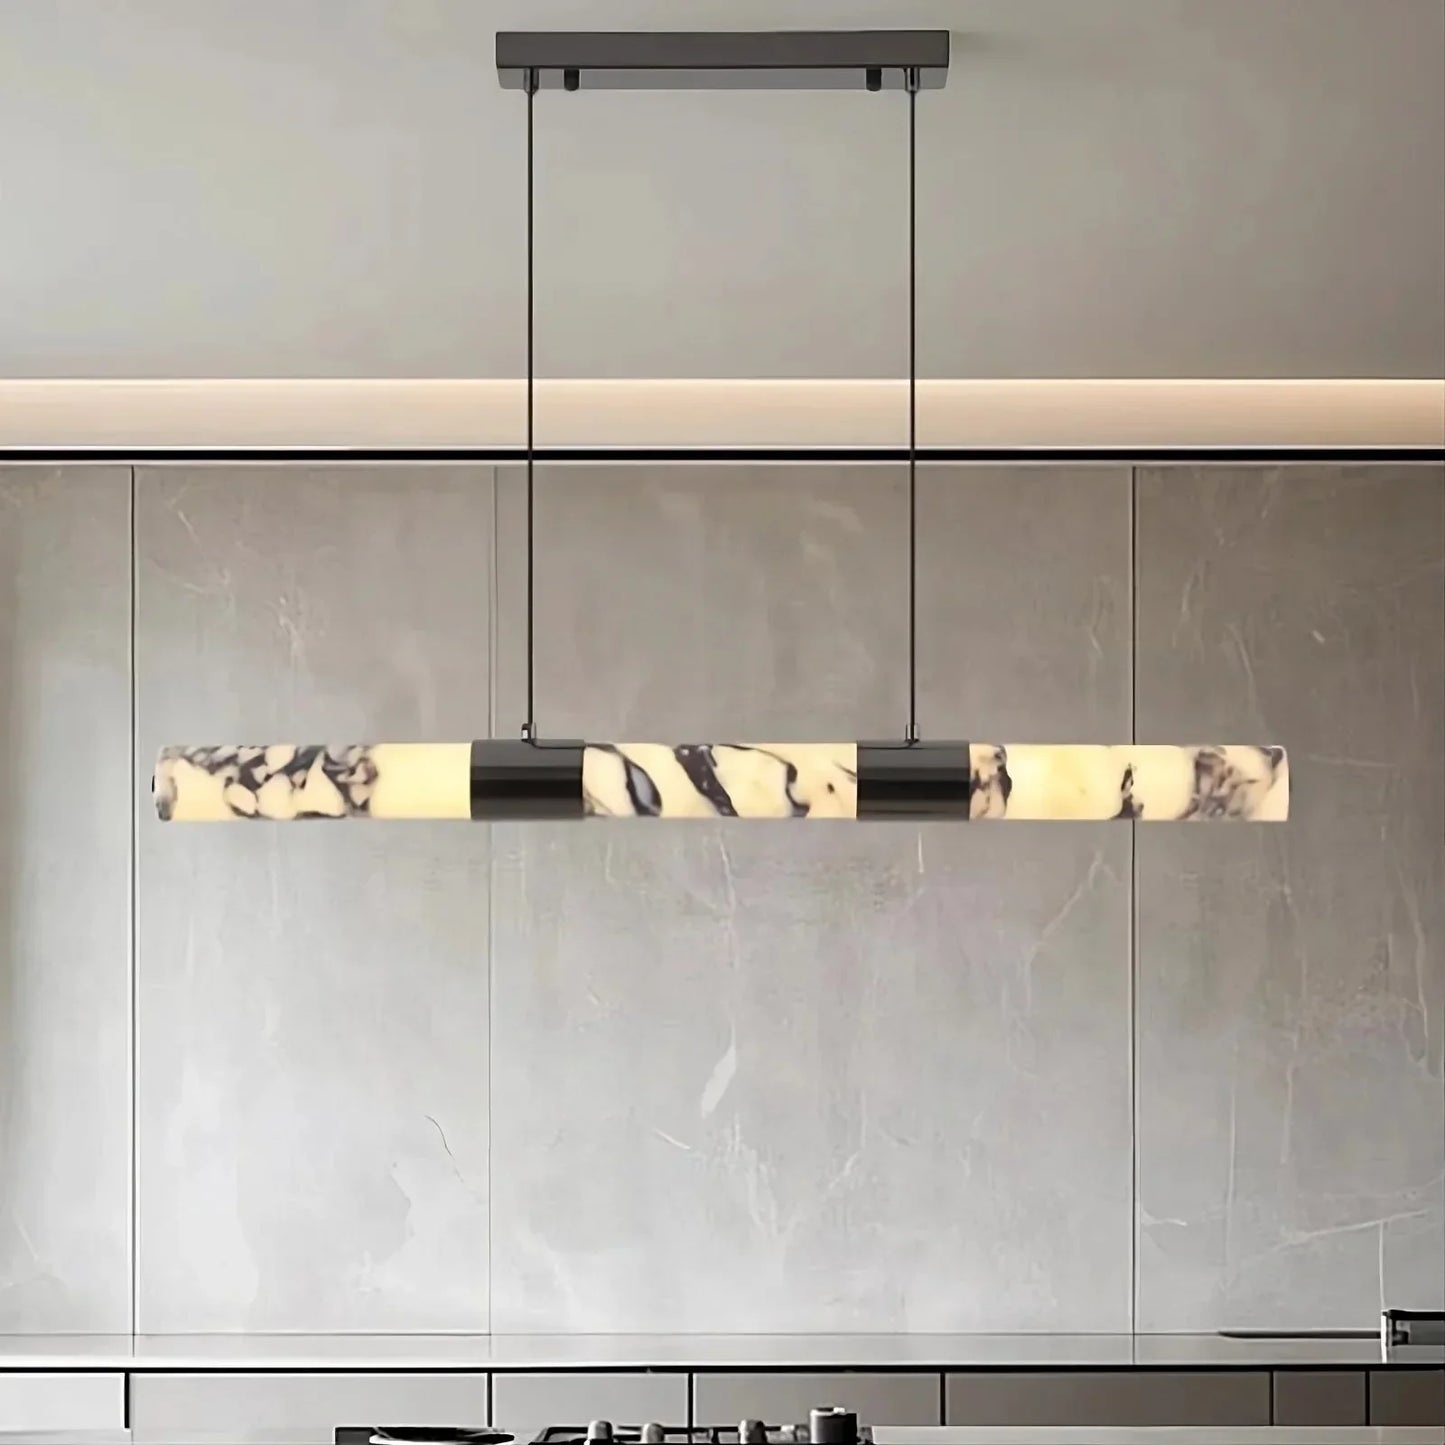
Chandeliers offer more than just illumination; they bring elegance and style to any space. Minimalist designs and innovative materials now make chandeliers a versatile choice for modern homes.
- Aesthetic Appeal: Chandeliers enhance the visual impact of a room.
- Focal Point: They create a central feature that draws attention.
- Versatility: Suitable for various rooms, including living rooms, dining areas, and even bedrooms.
- Light Quality: They provide ambient, task, and accent lighting.
- Value Addition: Installing a chandelier can increase property value and enrich the interior design.
Choosing a modern chandelier combines functionality with artistry.
Safety Precautions and Required Tools
Proper safety measures and tools are critical. Always cut off the main electrical supply before beginning. Utilize voltage testers to confirm the absence of electricity.
Safety Precautions:
- Disconnect Power: Turn off the breaker or fuse.
- Stable Ladder: Ensure the ladder is sturdy and fully extended.
- Protective Gear: Wear insulated gloves and safety goggles.
- Assistance: Have a second person nearby for help.
Required Tools:
- Voltage Tester: Confirm no electricity.
- Screwdrivers: Philips and flat-head.
- Wire Strippers: For safe wire handling.
- Pliers: Grip and twist wires.
- Tape Measure: Ensure accurate placement.
- Drill: For mounting holes.
- Anchors and Screws: Secure chandelier to ceiling.
Choosing the Right Chandelier for Your Space
When selecting a chandelier, consider the room’s dimensions, style, and existing decor. Measure the room’s height, width, and length to determine the appropriate size. Ensure the chandelier complements the room’s aesthetics, whether modern, traditional, or eclectic.
Key Factors to Consider
- Room Size: A large chandelier can overwhelm a small space, while a small one may look underwhelming in a large room.
- Ceiling Height: Ensure enough clearance for comfortable foot traffic.
- Light Output: Assess the chandelier’s brightness to meet the room’s lighting needs.
- Style and Material: Ensure the chandelier matches or enhances the room’s interior design.
Assessing the Ceiling and Electrical Box
Before starting the installation of a modern chandelier, evaluating the ceiling's structure and the existing electrical box is crucial.
-
Ceiling Structure:
- Ensure the ceiling can support the chandelier's weight.
- For heavier chandeliers, a joist or additional bracing might be necessary.
-
Electrical Box:
- Inspect the existing electrical box for compatibility and stability.
- It should be rated to support the chandelier's weight.
-
Safety Checks:
- Turn off the power at the breaker before working on the electrical box.
- Verify wiring adequacy and integrity for the chandelier's electrical requirements.
-
Measurement:
- Properly measure the mounting area to ensure alignment and height suitability.
Preparing the Chandelier for Installation
Before starting the installation process, ensure all tools and materials are readily available. Gather the following:
- Ladder
- Screwdrivers
- Wire strippers
- Voltage tester
- Safety goggles
Carefully unbox the chandelier, checking for any damage. Organize all parts on a flat surface to confirm that nothing is missing.
Tip: Verify the weight of the chandelier to ensure the ceiling can support it.
Turn off the power at the circuit breaker to prevent electrical accidents. Use a voltage tester to double-check there is no live current. Follow the manufacturer’s instructions thoroughly. Rheostat installation may be necessary for adjustable lighting control.
Turning Off the Power Supply
To ensure safe installation of a modern chandelier, the first step is turning off the power supply to the area where the chandelier will be installed. This prevents electrical accidents and ensures the process is carried out safely. Follow these steps:
- Locate the circuit breaker panel.
- Identify the breaker that controls the lighting circuit where the chandelier will be installed.
- Switch the breaker to the "off" position.
- Use a voltage tester to confirm that the electricity is off at the chandelier’s installation point.
These steps are essential for preventing electrical hazards. Always prioritize safety when working with electrical components.
Assembling the Chandelier
- Unbox All Parts: Carefully unbox all chandelier parts and place them on a large, flat surface. Check the instruction manual to ensure all parts are included.
- Prepare Tools: Gather necessary tools such as a screwdriver, pliers, and a step ladder.
- Sort By Category: Organize parts by category—wires, bulbs, crystals, brackets, etc.
- Attach Frame: Begin by assembling the main frame according to the instruction manual.
- Install Wiring: Connect the wiring as specified, ensuring a secure and stable connection.
- Mount Bulbs and Crystals: Attach bulbs and decorative crystals to the designated spots.
- Finalize Assembly: Double-check connections and tighten all screws.
Mounting the Bracket or Plate
When mounting the bracket or plate, ensure that the power is turned off at the circuit breaker. Use a voltage tester to verify. Gather necessary tools, such as a screwdriver, ladder, and the mounting hardware provided with the chandelier.
- Locate Studs: Use a stud finder to locate the ceiling joists.
- Mark Placement: Mark the screw holes on the ceiling.
- Pre-drill Holes: Pre-drill holes for the screws.
- Secure Bracket/Plate: Attach the bracket or plate to the ceiling using screws, ensuring it’s tight and secure.
Ensure the bracket can support the weight of the chandelier.
Proceed to connect the chandelier’s wires following the manufacturer’s instructions.
Connecting Electrical Wires
When connecting electrical wires, ensure the power is off. Use a voltage tester to confirm. Strictly follow the chandelier manufacturer's instructions. Identify the three key wires: the hot wire, the neutral wire, and the ground wire.
-
Identify and Strip Wires:
- Use a wire stripper to remove about 1/2 inch of insulation from each wire end.
-
Connect Wires:
- Twist the hot wire from the chandelier to the hot wire in the ceiling.
- Connect the neutral wires similarly.
- Attach the ground wire to the ground screw inside the electrical box.
-
Secure Connections:
- Use wire nuts to cover all connections.
- Wrap each wire nut with electrical tape for added security.
-
Check for Tautness:
- Tug lightly on the wires to ensure they are securely connected.
Properly house everything in the junction box before moving to the next installation step.
Securing the Chandelier to the Ceiling
Before securing the chandelier to the ceiling, ensure that the power is turned off at the circuit breaker. Utilize a voltage tester to confirm no active current.
- Locate Ceiling Joist or Support: Identify a ceiling joist or a support brace capable of bearing the chandelier's weight.
- Install Mounting Bracket: Attach the mounting bracket to the joist using screws and a screwdriver.
- Connect Wiring: Match the fixture's wiring to the ceiling wiring, following color coding. Secure with wire nuts.
- Attach Chandelier: Lift the chandelier and attach it to the mounting bracket. Secure all screws tightly.
- Test Stability: Gently push the fixture to check for stability. Ensure there is no wobble.
Installing Light Bulbs and Accessories
Proper installation of light bulbs and accessories is crucial for both functionality and aesthetics. Follow these steps:
- Turn Off Power: Ensure the power supply is turned off at the circuit breaker to prevent electrical shock.
- Handle Bulbs Safely: Wear gloves to avoid skin oils transferring to the bulbs, which can reduce their lifespan.
- Insert Bulbs: Gently screw the bulbs into the sockets until snug, avoiding excessive force.
- Attach Accessories: Secure any additional decorative elements, such as glass shades or crystal pendants, according to the manufacturer’s instructions.
- Test the Setup: Once installation is complete, turn the power back on and test the chandelier to ensure all bulbs and accessories are securely in place.
Testing the Chandelier
Professionals stress the importance of thoroughly testing the chandelier before securing it in place permanently. Follow these critical steps:
- Power Supply Check: Verify that the power to the chandelier is turned off at the circuit breaker before any initial installation or testing.
- Bulb Installation: Carefully insert the recommended bulbs, ensuring they are of the correct wattage and type specified by the manufacturer.
- Wiring Inspection: Double-check all wiring connections for tightness and proper placement to avoid potential electrical hazards.
- Momentary Power On: Temporarily restore the power to test the lighting functions, checking for proper illumination and switch operation.
- Dimmer Compatibility: If using a dimmer switch, verify that it is compatible with the chandelier’s lighting components to ensure full functionality.
Testing verifies the fixture’s safety, compatibility, and performance before final installation.
Adjusting Height and Position
Proper height and position adjustment is crucial for chandelier placement.
-
Measure Ceiling Height:
- For standard 8-foot ceilings, the bottom of the chandelier should hang 30 to 34 inches above the table.
- In higher ceilings, chandeliers should hang an additional 3 inches for each extra foot of ceiling height.
-
Consider Room Size:
- The chandelier's diameter in inches should be equal to the sum of the room's length and width in feet.
-
Alignment:
- Ensure the chandelier is centrally aligned with the table or space it illuminates.
- Utilize a stud finder to locate beams for secure mounting to prevent mishaps.
Final Touches and Decoration
Ensure the chandelier is level by adjusting the chain links or mounting hardware. Tighten all screws and connections securely. Test the light to confirm proper wiring and functionality. Clean the chandelier using a soft cloth and appropriate cleaner to remove any dust or fingerprints.
Consider the following for decoration:
- Bulb choice: Use energy-efficient LED bulbs or vintage-style Edison bulbs to enhance aesthetics.
- Dimmer switches: Install dimmer switches for adjustable lighting.
- Shades and crystals: Add or change shades and crystals for a customized look.
- Room ambiance: Coordinate with room décor for harmonious styling.
Regular maintenance ensures longevity and continuous visual appeal.
Maintenance Tips for Long-lasting Beauty
Maintaining a modern chandelier ensures its beauty and functionality over time. Regular attention and care can extend its lifespan.
- Dusting: Use a soft cloth or feather duster to gently remove dust weekly.
- Cleaning: Clean glass and metal parts with a mild cleaner to prevent tarnishing.
- Tightening: Check and tighten any loose parts periodically to maintain structural integrity.
- Bulb Replacement: Use the recommended bulbs and replace burnt-out ones promptly.
- Inspection: Regularly inspect for any wear and tear or potential issues.
- Professional Cleaning: Consider professional cleaning annually for a thorough refresh.
Troubleshooting Common Issues
-
Flickering Lights:
- Check for loose bulbs.
- Tighten wiring connections.
- Verify the compatibility of dimmer switches.
-
Uneven Hanging:
- Use a leveling tool.
- Adjust the chain or mounting bracket.
- Inspect ceiling attachment points.
-
Dim Lighting:
- Confirm the wattage of installed bulbs.
- Clean shades and bulbs for better light output.
- Assess the electrical circuit for faults.
-
Circuit Breaker Trips:
- Inspect for short circuits in wiring.
- Ensure the chandelier doesn't exceed circuit capacity.
- Consult an electrician for persistent issues.
Always switch off the power before any inspection or repair efforts to ensure safety.
Conclusion and Final Thoughts
Proper installation of modern chandeliers enhances both functionality and aesthetics. Choosing the right size and style for the space is crucial. Ensure the fixture complements the room's theme and meets illumination needs. Hiring a licensed electrician is recommended for safety and professionalism. Pay attention to height adjustments to avoid any hindrance. Maintenance should involve regular cleaning and timely replacement of bulbs. Energy-efficient lighting options should be considered for sustainability. Proper dimmer switch installation can enhance ambiance control. These expert tips are indispensable for a successful chandelier installation, ensuring both safety and aesthetic satisfaction.


